Menu Builder
1. Go to Menus from the sidebar.
Initially it will show the menu structure of the user. There are five options- Admin, User, Vendor, Public header and Carrier whose menu structure can be edited.

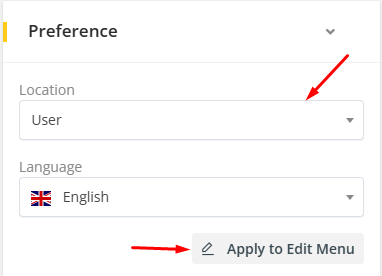
2. To edit a menu structure, select from the dropdown option and click on Apply to edit menu. An existing menu structure will appear from where menu can be edited and changed.
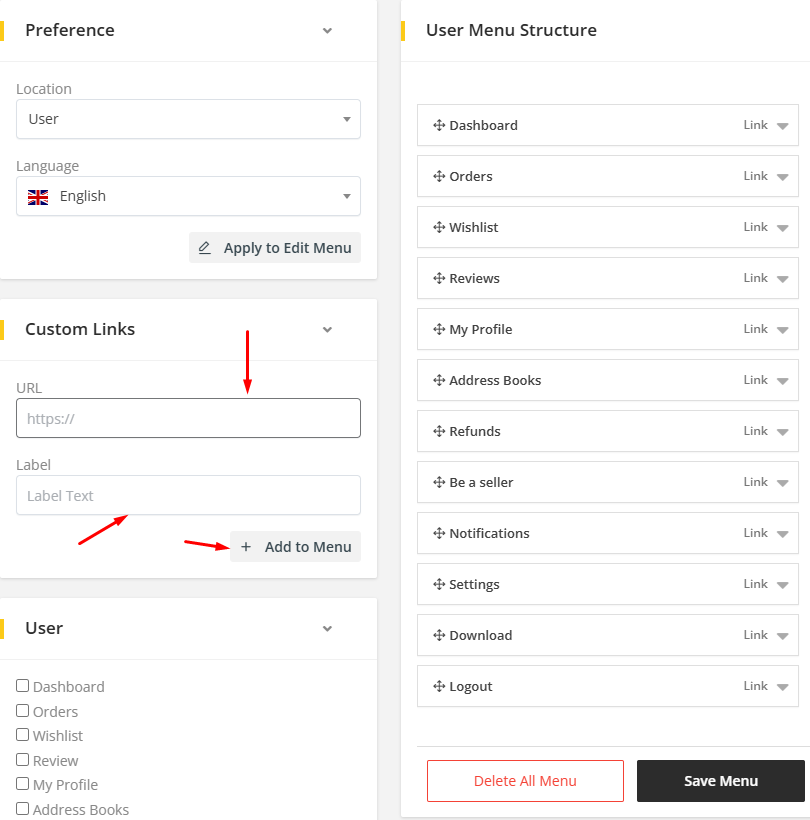
3. Custom menu item can be added to the menu structure by adding URL in the Custom Links section. Give a name/label for the menu in Label field and enter the URL to the URL field and click on Add to menu. Then a custom menu item will be add to that user-role's menu structure and it can be accessed from that user role's panel.
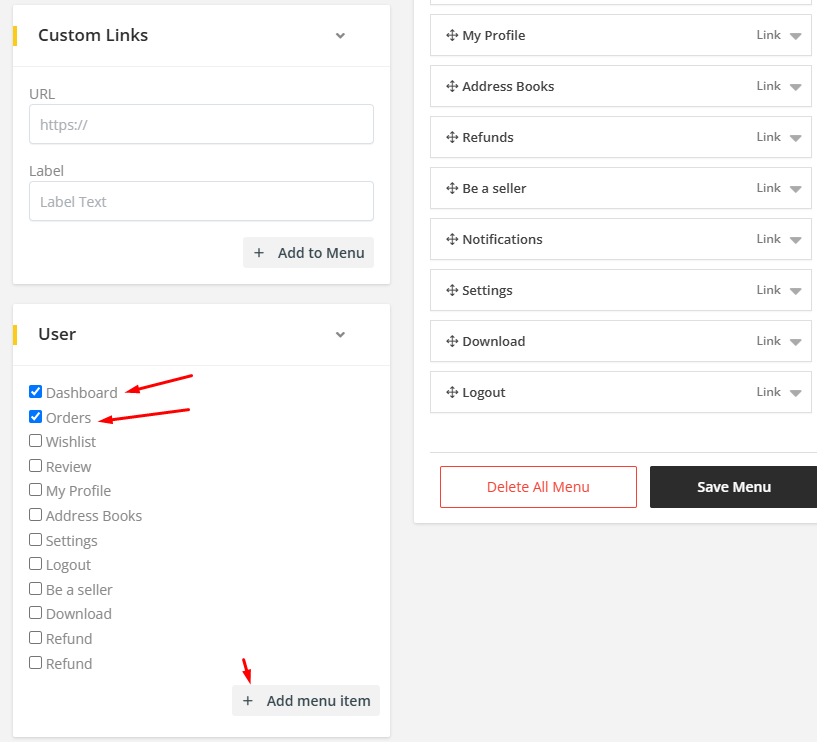
4. Menu item can be added from an existing menu item list. Select the menu item and click on Add menu item then it will be added to the menu structure. Multiple menu items can be selected from there in order to add.
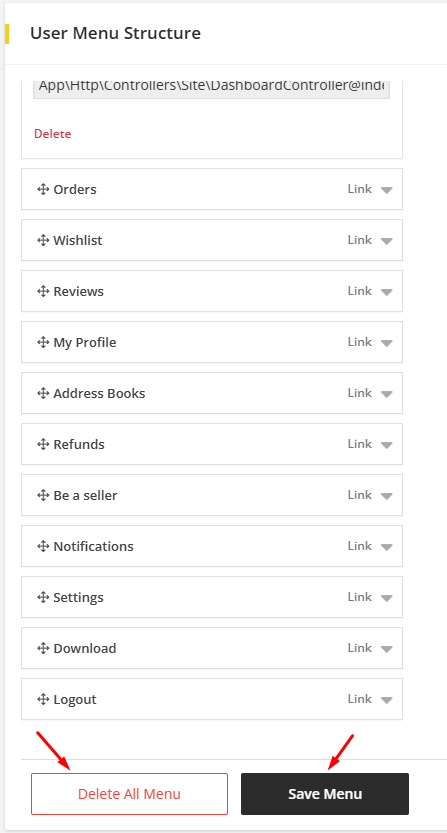
5. Menu item can be edited individually. Clicking on the menu item from the menu structure. Dropdown option will appear for editing.
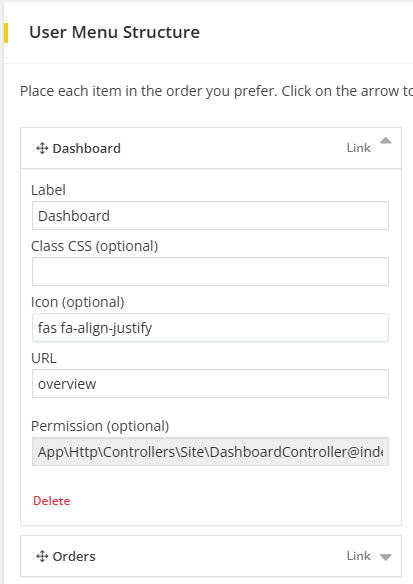
Labelchange will change the menu item label/name.Iconto set the icon for the menu item.CSSto change the menu item's styleDeletewill delete the menu item from the menu structure.URLfor any specific location where the menu will redirect to

- Menu items can be moved around by dragging it. Menu item can be a sub-element, if it drags down to another menu item then it will stay as sub-element. This
6. A Delete All Menu option is available at the bottom of the menu structure to delete the whole menu structure. There is Save menu buttons to save any changes to the menu structure.