Creating New Vendor
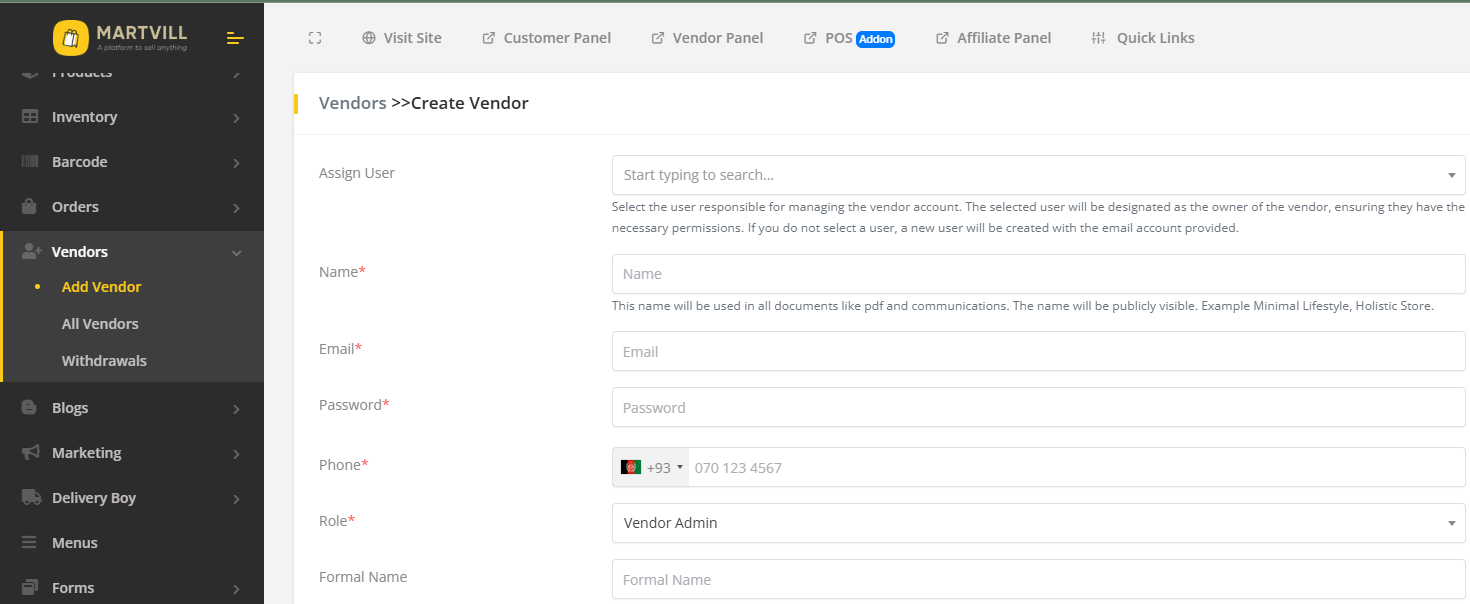
1. Go to Vendors->Add Vendor from the sidebar. You will be redirected to the vendor creation page.
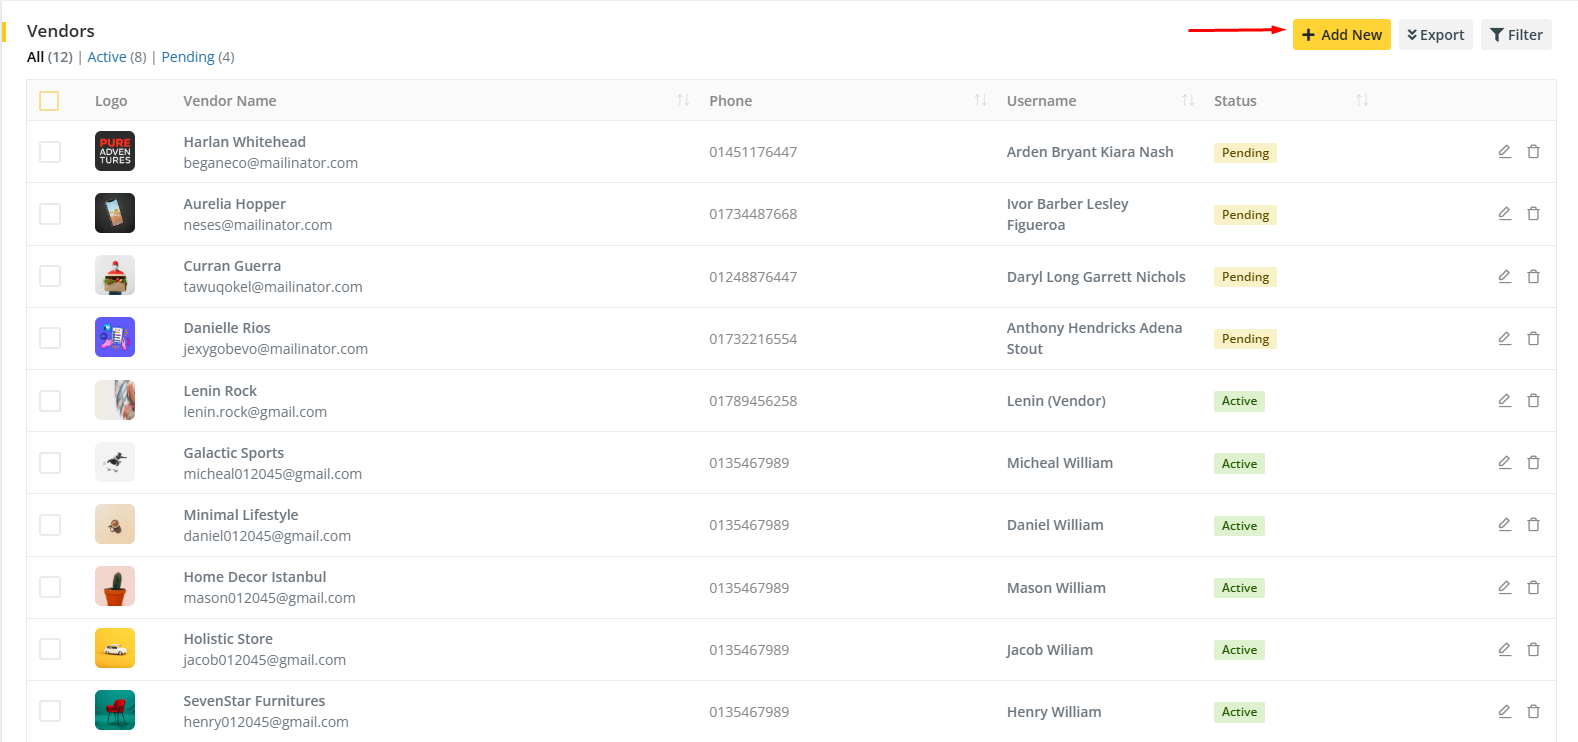
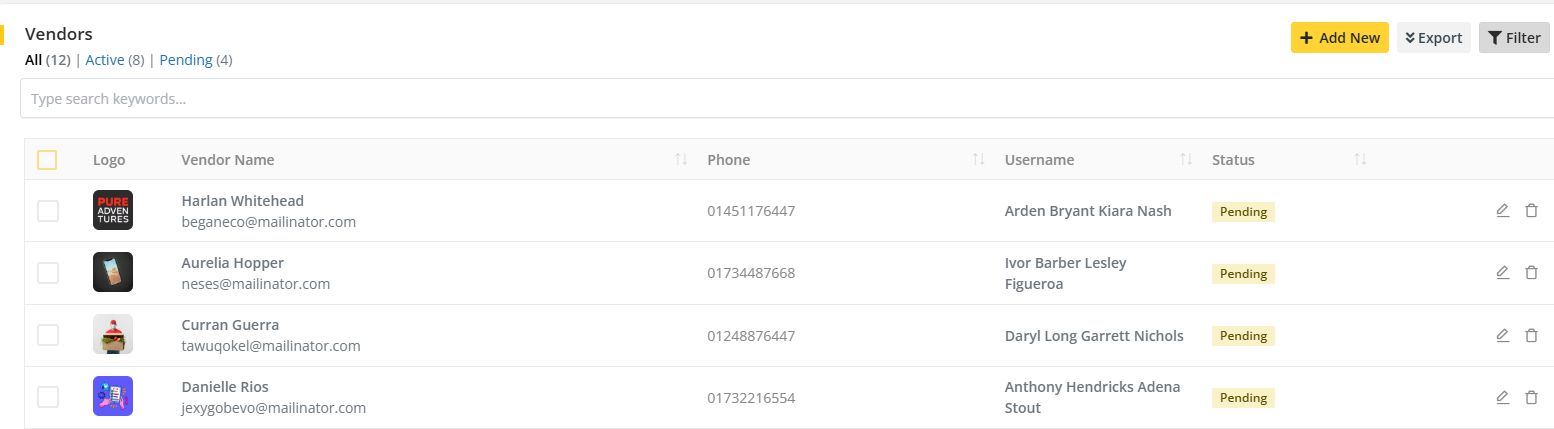
2. You can also create a new vendor from Vendors->All Vendors. This will show all the available vendors in the system.
3. Click on Add New to add new vendor.
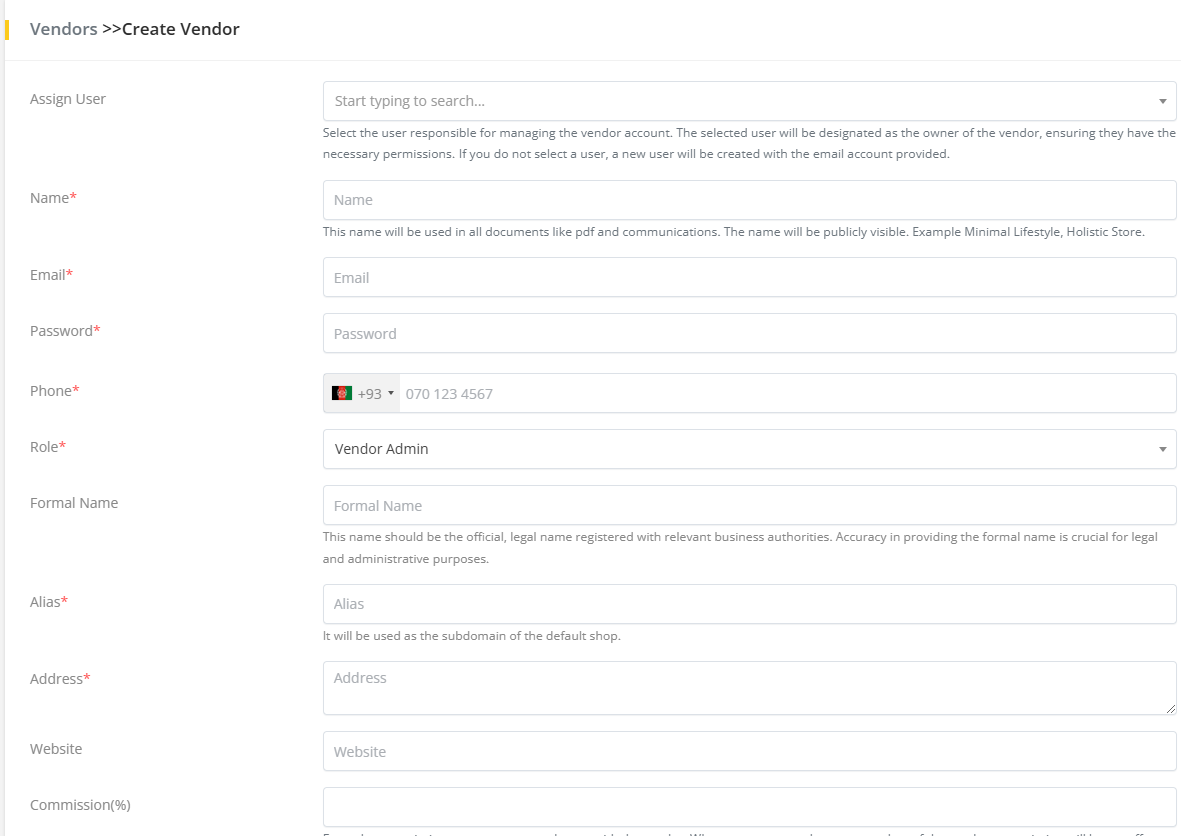
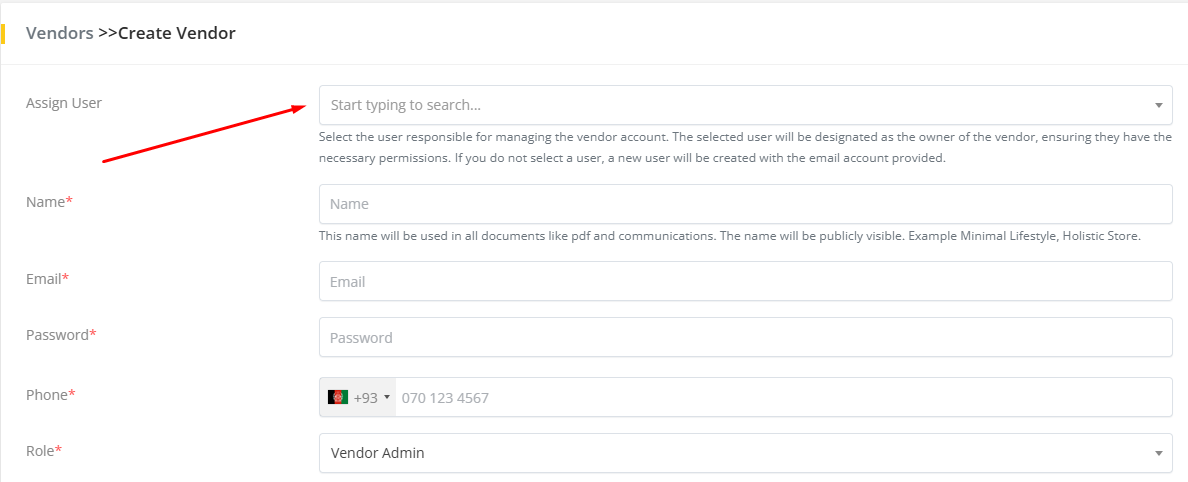
3. Fill the form and submit the form and it will create a new vendor.
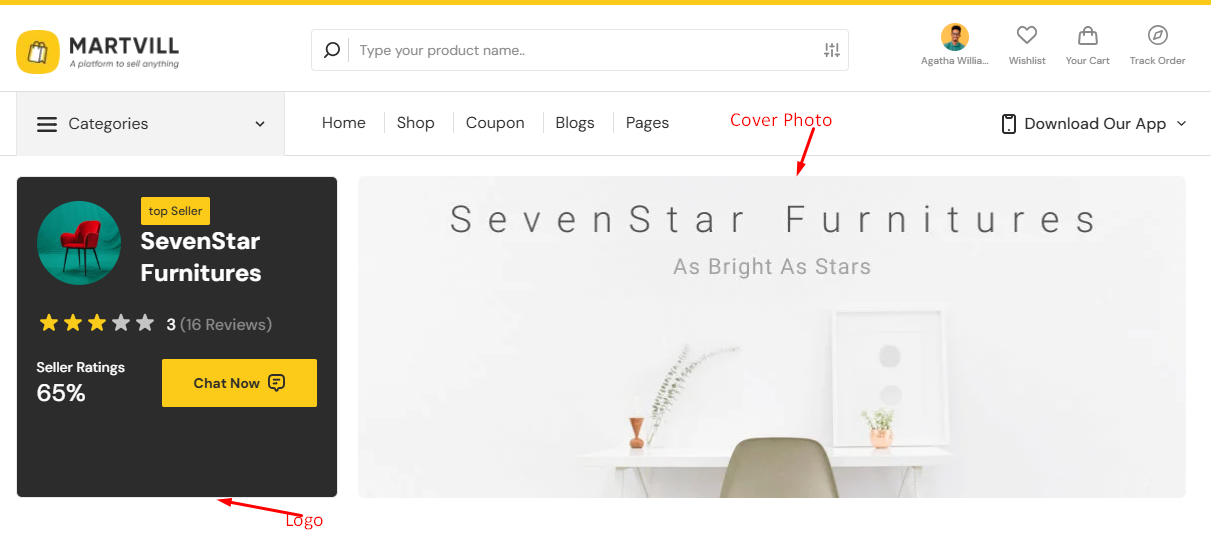
Here, the logo that is provided will appear as the logo for vendor all across the system and the cover photo will be the cover picture for the vendor store/shop page.
Also an admin can turn an existing user as a vendor in the system. If any user is not already a vendor then admin can add a customer as a vendor within the system. For this, the admin has to add that customer on Assign User input field while creating a vendor and that customer will be assigned as a vendor.
4. Information can be edited and vendor can be deleted from the vendor list.

5. Clicking filter icon, status filter will appear by which vendor can be searched by keywords.
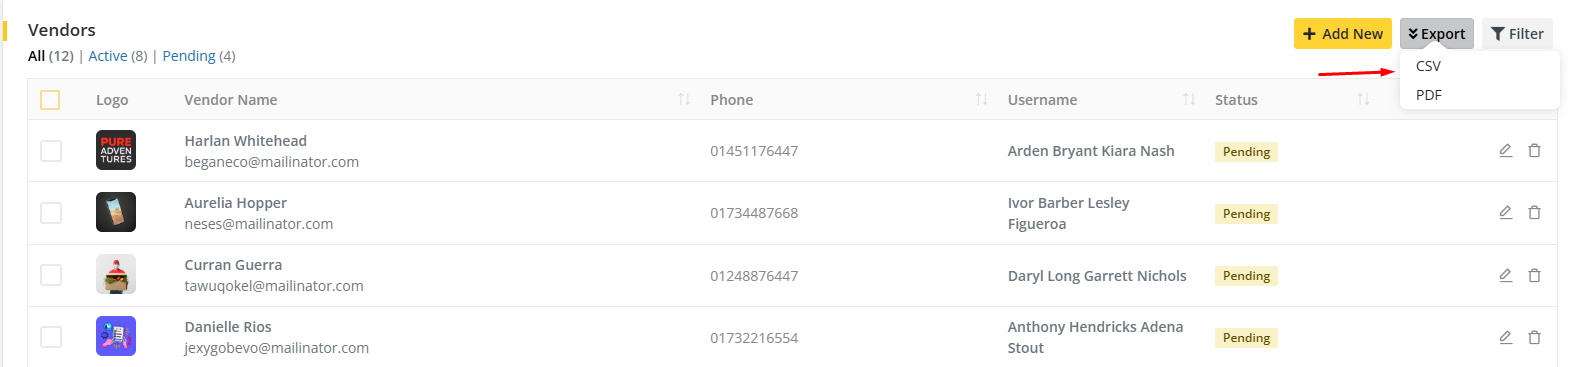
6. Vendor list can be exported in two ways. One as CSV file and another is PDF file
Note
- checking
Send email to the usercheckbox withpendingstatus will send a account verification email to the vendor. - checking
Send email to the usercheckbox withactivestatus will send a account activation email to the vendor. - no email will be sent to the vendor if
Send email to the useris not checked.