Getting Started
Installation
1. Configure Database Login to your cPanel and create a new database that will be used for MartVill installation.
You can check this tutorial (how to setup MySQL database in cPanel) if you are not familiar with how to configure database.
– Login to cPanel by accessing www.yourdomain.com/cpanel and navigate go MySQL Databases, note that this step may vary and in some hosting providers can be different.
– Create database.
– Create user and set up user password. (write in a note the username and password, because it will be needed for re-use later)
– Add the user to the database by selecting the database and the username.
2. Upload files to server
– At first create domain by Domain Then, upload the MartVill installer zip file(that you have downloaded from CodeCanyon) using File manager-> Upload.
– Extract the zip file into your domain root.
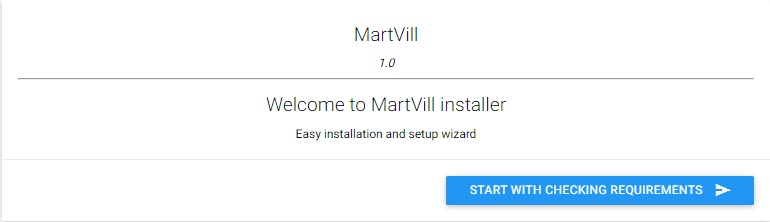
– Go to (your domain)/install from your browser to start the installation. Example: https:www.martvill.com/install

Then, follow the steps as mentioned below:-
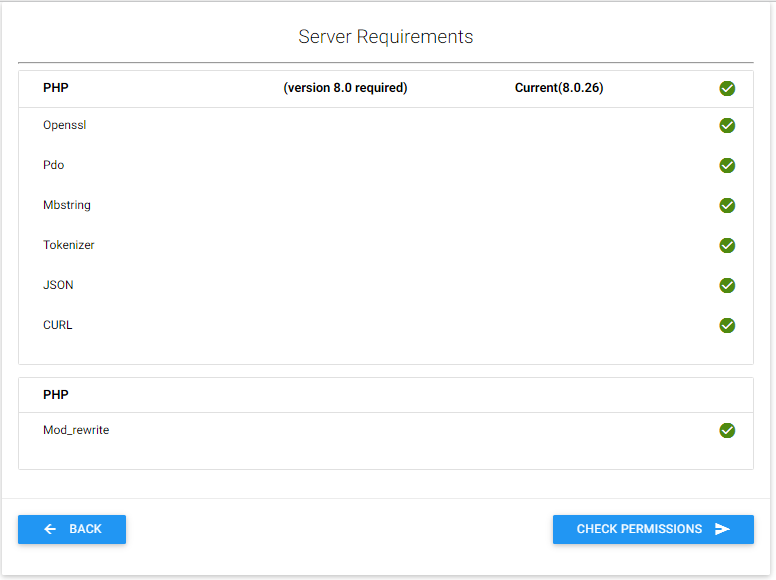
– Check Server Requirements (step-1)
–Check Folders Permissions(step-2)
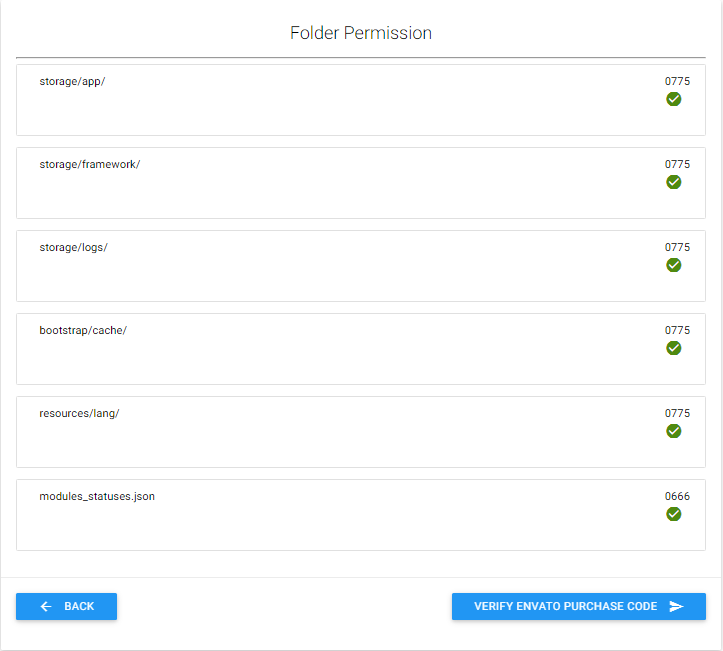
– You must give permission to some directories.
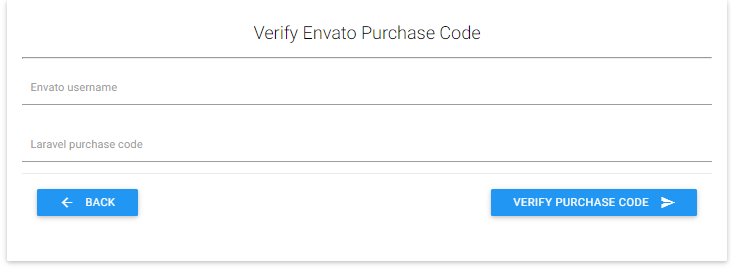
– Verify Envato Purchase Code (step-3)
if purchase code is verified, you will see the Database setting page (step-4).
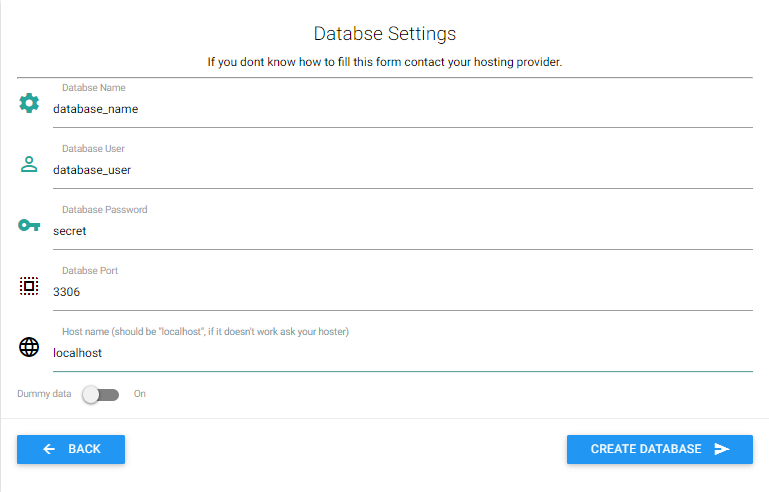
– Enter your database credentials.
– Enable Dummy Data, if you want dummy data available in your database.
– Once you have completed filling credentials, please wait for few seconds.
You will be passed to (step-5); otherwise, please re-check your credentials and hostname. (usually hostname is localhost but you should check with your hosting provider or cPanel)
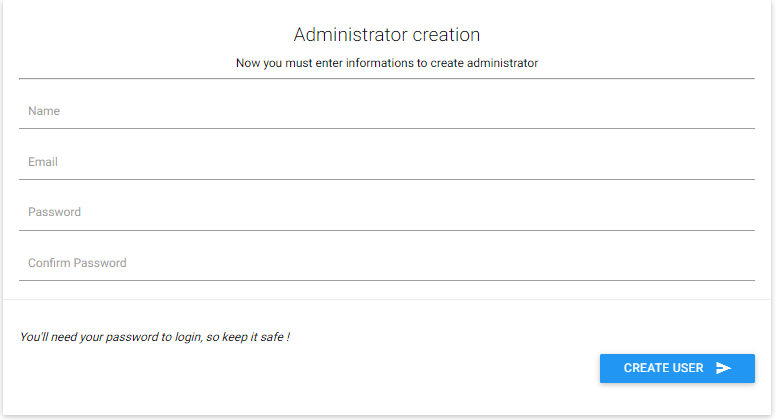
– Enter your admin first name,email and password that will be used for login.
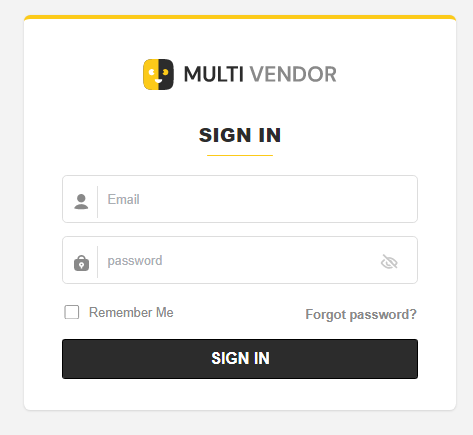
– Click “Create User”; if the installation is successful, you will see the message Installation Successful. Then login to the system with your user credentials.

4. Optional Setup
– Customize email template by navigating to Emails for both admin & all users.
– Setup each users roles by navigating to –
Configuration-> Accounts-> Roles-> Add Role for Admin user.
– Additionally, you can take a look at all the option in Configuration.