Popup
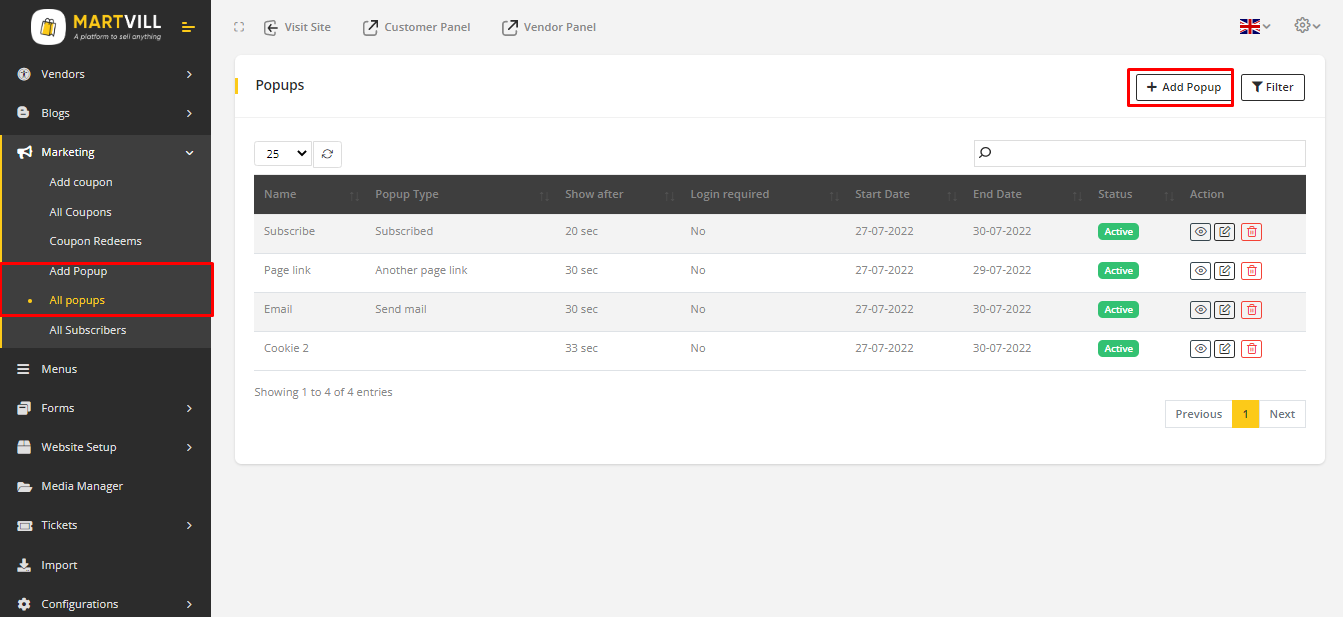
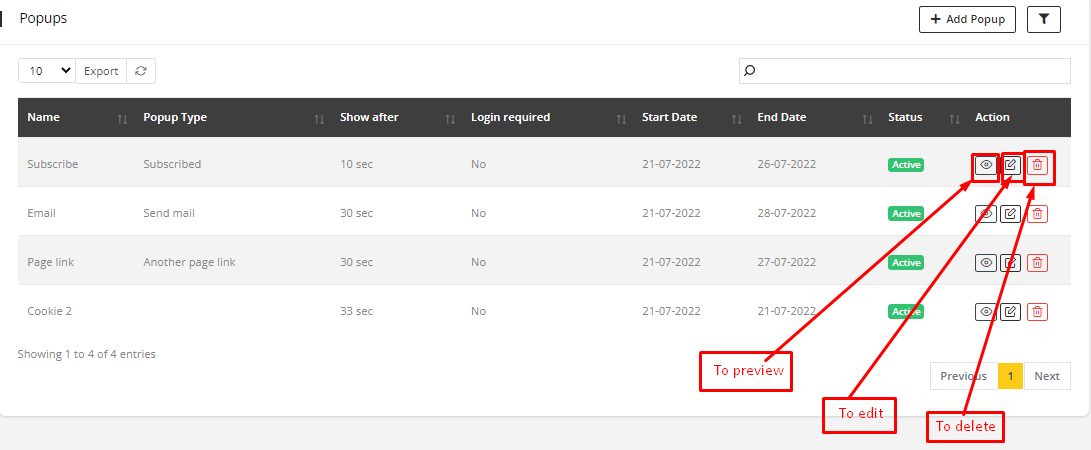
1. Go to Marketing-> All Popups or Marketing-> Add Popup from the sidebar. An existing popup list will appear.
2. Click on Add Popup to add new popup.
3. Fill the sections and click to the next to fill up the next sections. End of the section of settings click on Save changes.
Targeting Section
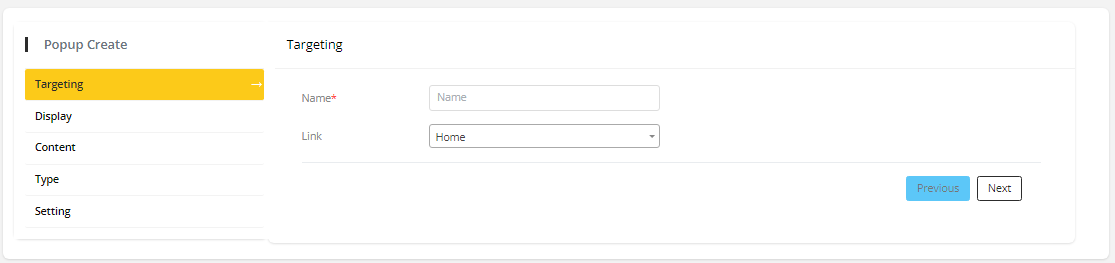
- Give a name to the popup and Select
Linkfield to choose where the popup should be seen.
Display Section
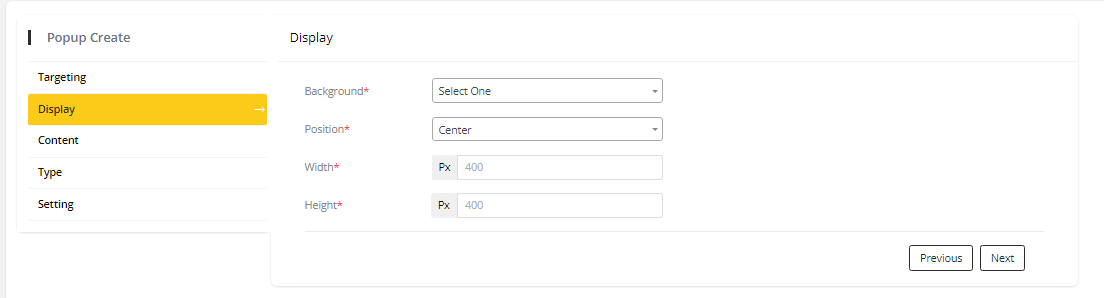
- Select color or image for
Background. - Select
Positionto fix the position of the popup in the screen. - Put value for
Heightandwidthto fix popups size.
Content Section
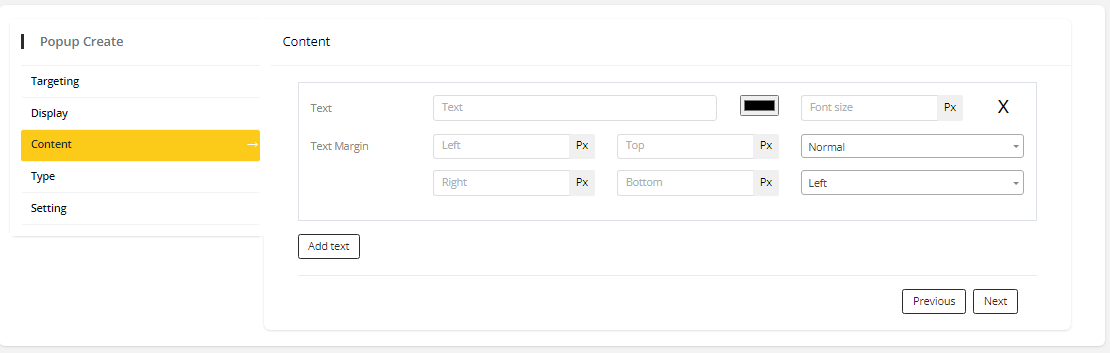
- For the popup content, fill up the
Textfield. - Select the
colorandFont sizeand put value forText marginfor the text alignment. - Select style
Normal,boldoritalicfor the content of the popup - Select the position,
LeftorRightfor the text in the popup content - To add more text in the content of the popup click on
Add text, a new text section will be added. To remove the section click on close icon from the upper right corner of the text section.
Type Section
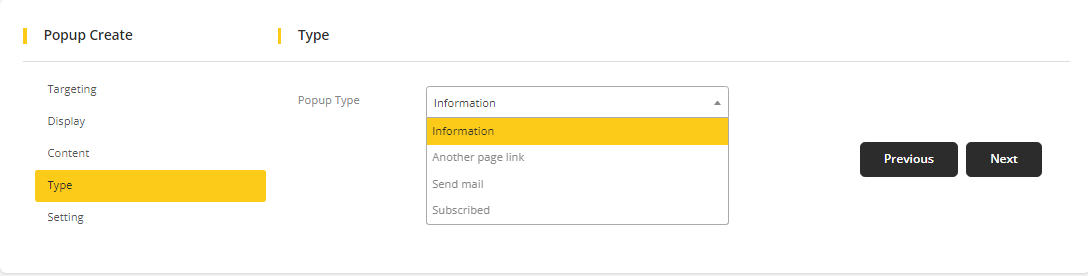
-
Select popup
Typeto define the popup kind. Four types of popup are there:-
Information: this type to show only information to the viewers. No Extra field needs to be filled up
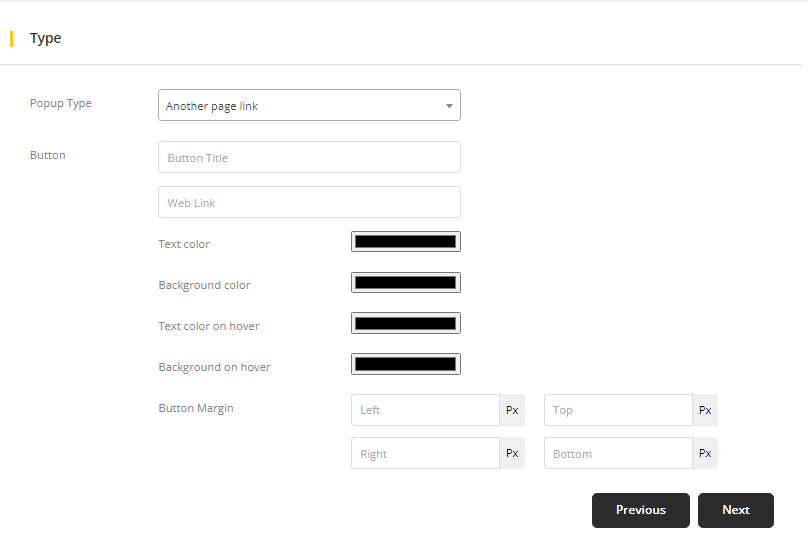
-
Another page link: this popup will have a button to take the users to a different page to view the information. You need to give a button name and the web link that connected to it and configure the appearance of it.
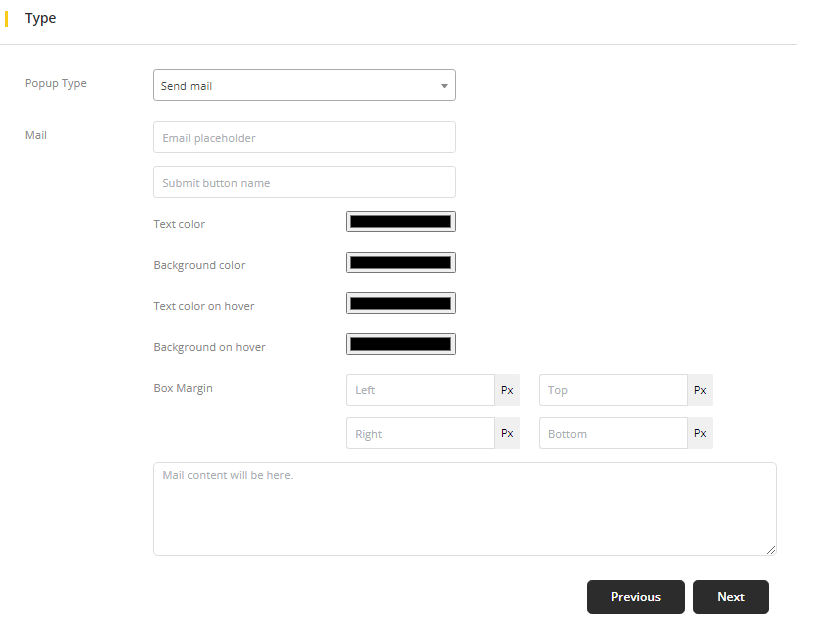
-
Send Email: this type of popup will send an email to the user when the user enter their email address to the placeholder. Few new fields will be added to the section. Email content can be written down on the text box.
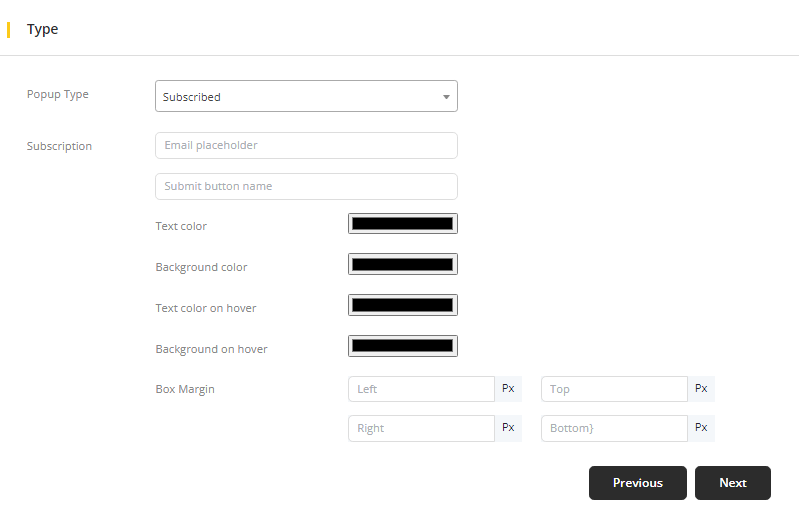
-
Subscribed: this type can be used for subscribing any social media/news letter. User will enter their email to the placeholder and admin can use that mail as subscriber. Same fields will be added to the section as Send Email except Email content text box.
-
Setting Section
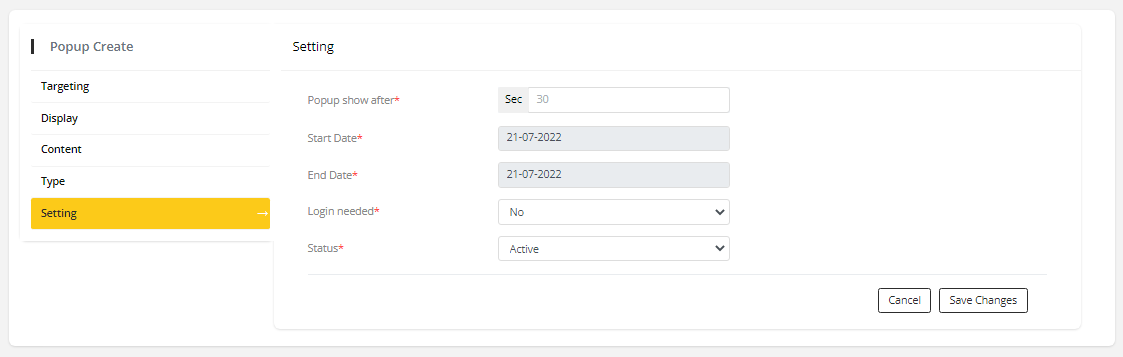
Popup show afterindicates that after how many seconds the popup will be seen.- Select
Start dateandEnd datefor the popup. It indicate how many days the popup will be seen. - Select
Login neededto ensure that the popup can be seen with or without login.
4. Popup can be edited, previewed and deleted.
Note
- once popup type is selected while creating popup, then the type can not be edited.
5. Popup can be filtered by clicking on filter icon. It can be filtered by status and logged in requirements.